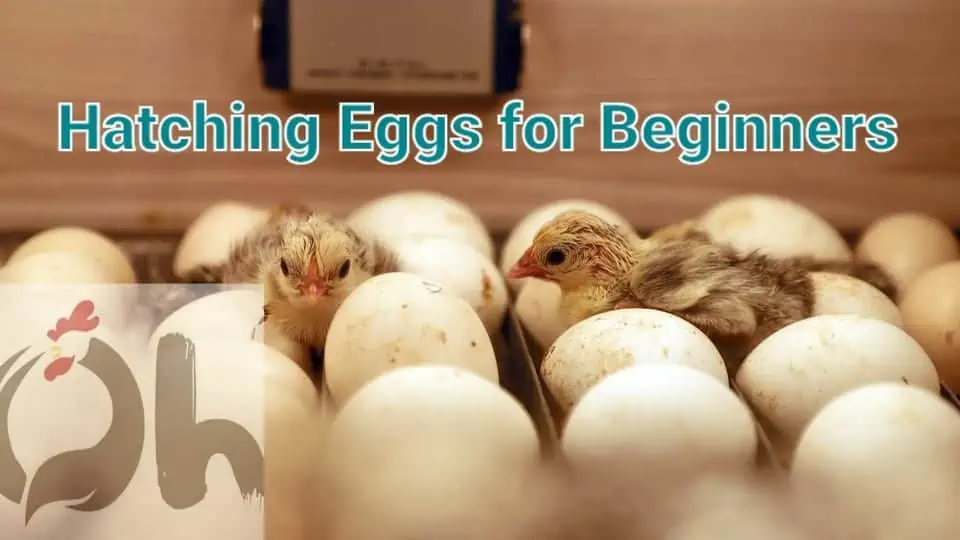
When you think of poultry, you quickly begin to think cute, fuzzy chicks and that leads to thinking of hatching eggs; so why not give it a try? Here we are going to talk about the basics of hatching and even mention some of the most popular incubators for beginners. There are many different tips, tricks and methods of hatching, here we are going to keep it simple and basic, straight to the point. Warning; hatching is very addictive!
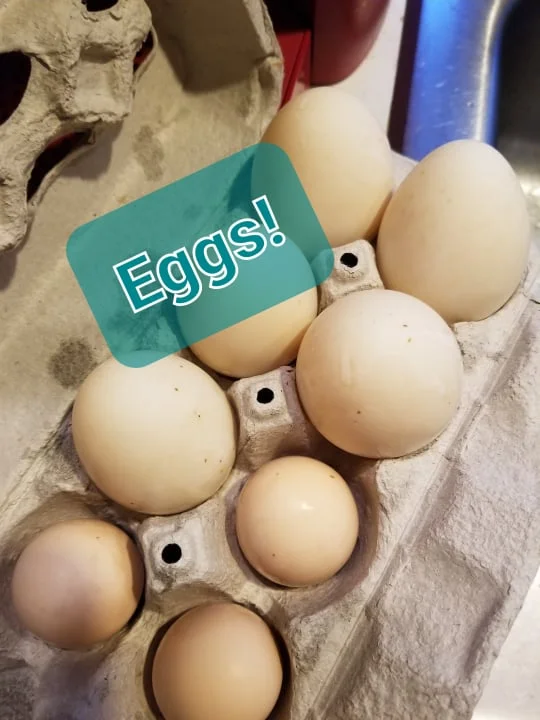
Over the years I have hatched chickens, ducks, turkeys, guineas and geese, I have made many mistakes and I have had many successes. I have found myself sitting in front of my incubator staring at my eggs wishing they would hatch after only day 3 of incubation, which, for my husband, is quite comical.
Incubating eggs to me is actually quite basic, stick to the rules; temperature, humidity and egg turning. Let’s dive into the topic shall we
Where to begin?
So the absolute best way to incubate any eggs is to have a broody hen, you can’t get any better than what nature intended in the first place! In many cases you will not have a broody hen at the time that you see fit to hatch, then there are other times where everyone decides to go broody at once and you won’t have enough eggs to go around. If a broody hen is not available then the next best thing is a good incubator.
Which incubator is best for me?
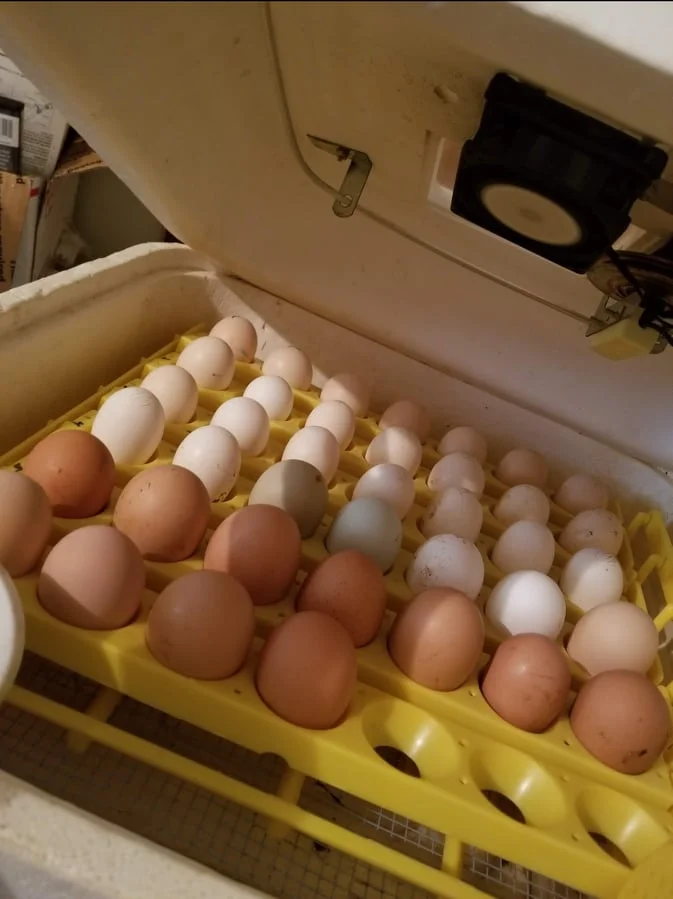
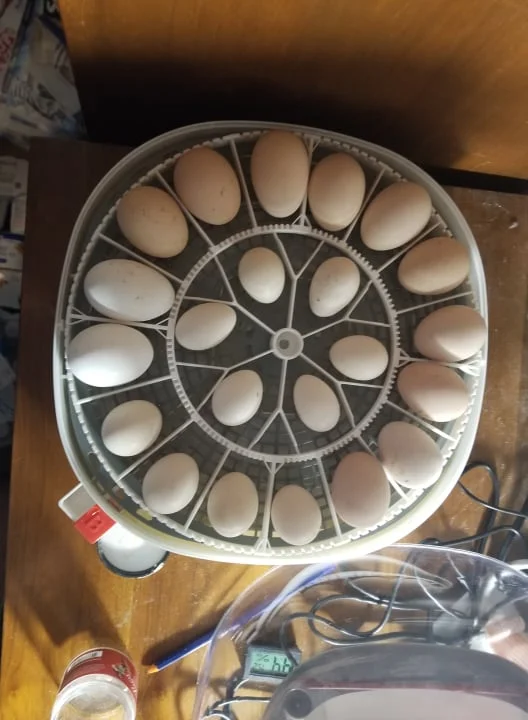
There are a multitude of incubators in today’s marketplace and I have used several of them. We are going to stick to beginner friendly table top incubators. Here are the most recommended table-top incubators for the beginner small farm/hobbyists. These will not be listed in any particular order, each one has its pros and cons.
Harris Farms Nurture right 360 (built in egg turner)
Hovabator 1588 genesis or 1602N (turner purchased separately)
Brinsea- octagon 20 (purchase turner separately)
Farm innovators 4250 (turner purchased separately)
Collecting eggs
Now that you have selected an incubator, you need a good source for fertilized eggs! To produce your own, you must first own a healthy flock with a fertile rooster, another resource is to buy eggs from a local, reputable breeder or purchase shipped hatching eggs (I do NOT recommend shipped eggs for a beginner! They are a huge gamble and rarely worth the cost!) My personal recommendation is to raise your own or purchase from a local chicken keeper.
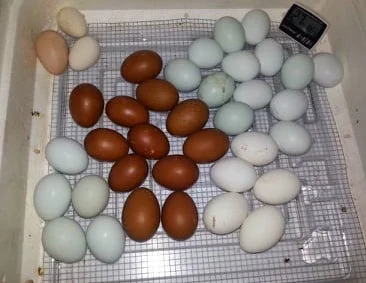
A clean egg is a healthy hatch
When collecting or purchasing eggs, make sure they are clean. They do not need to be spotless in order to hatch but they should never be caked in dirt, excrement or mud. If an egg is slightly soiled, take the dirt off with a medium bristle brush or a sanding sponge; Do not wash your eggs before incubating! If an egg is overly dirty, simply don’t incubate that egg. Washing removes the protective outer bloom and can introduce bacteria.
Incubating the eggs- days to hatch, temperature and humidity.
Chicken- 21 days, temperature 99.5 and humidity 35 to 50%
Day 18 to 21 increase humidity to 60/70%
Duck- 28 days, temperature 99.5 and humidity 50% Day 25 to 28 increase humidity to 65/75%
Turkey- 28 to 30 days, temperature 99.5 and humidity 50% Day 26 increase humidity to 65/75%
Guinea fowl- 26 to 28 days, temperature 99.5 and humidity 50% Day 26 increase humidity to 65/75%
Goose- 28 to 35 days, temperature 99.5 and humidity 55 to 60% Day 26 increase humidity to 65/75%
Quail- 15 to 17 days, temperature 99.5 to 100 and humidity 40 to 50%
NOTE: The temperatures above are for forced air/circulated air incubators, increase that temperature to 100 to 101 for Still Air incubators***
Storing hatching eggs before incubating
Eggs should be stored at room temperature, 55 to 70 degrees Fahrenheit in a carton with a large air cell end pointed up. Freshly collected, clean eggs can remain viable for 10 days after being laid, many in the right conditions can remain viable for longer but typically viability rapidly declines after 7 to 10 days. If the eggs need to be stored for more than a couple days before incubating, you should elevate one end of the carton with a book or something and alternate back and forth 2 to 3 times a day to prevent the yolk from sticking to the shell.
Let’s incubate!
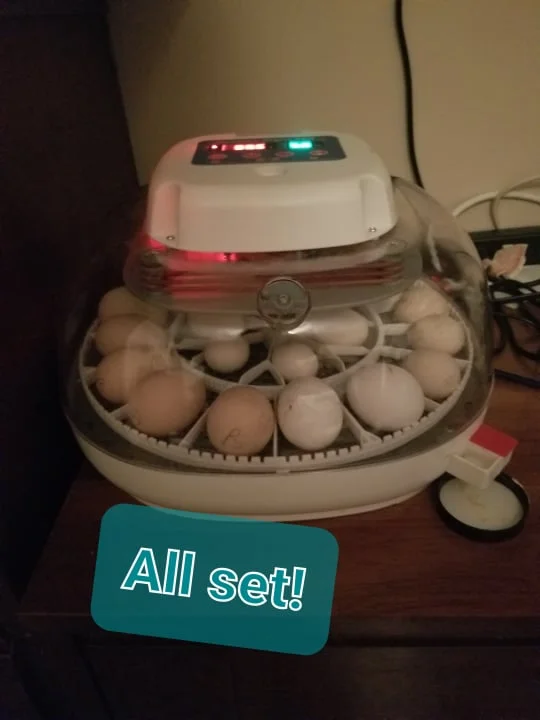
Once you have your incubator and your eggs, let’s set em up! Plug in your incubator and allow it to reach temperature, add an additional thermometer and hydrometer to the inside the incubator where the eggs would sit to verify it has accurately reached proper temperature and humidity. It may take a day or two for you to get the humidity correct, adding water and adjusting air vents until it is stable. Once all the numbers are stable, go ahead and set your eggs.
NOTE: Never expect every egg to develop and hatch, many factors play into hatching and expecting a 100% hatch rate will set you up for disappointment.
Turning eggs during incubation
For the health and well being of the eggs,they must be turned to prevent the yolk from sticking to the side of the eggshells. You can hand turn 3 to 5 times daily, invest in an auto turner or get an incubator that has a built in turner. Personally, I have done all of the above-mentioned in my hatches. For hand turning, you could use the mentioned tilt method for stored eggs in an incubator such as that of styrofoam variety or the more popular method is to take a pencil, mark an X on one side of the egg, an O on the other and hand turning the eggs a half turn 3 to 5 times a day.
Candling eggs
You can candle your eggs with an egg candler, a small bright flashlight or even the light on your cell phone! And for the best viewing, do so in a darkened room.
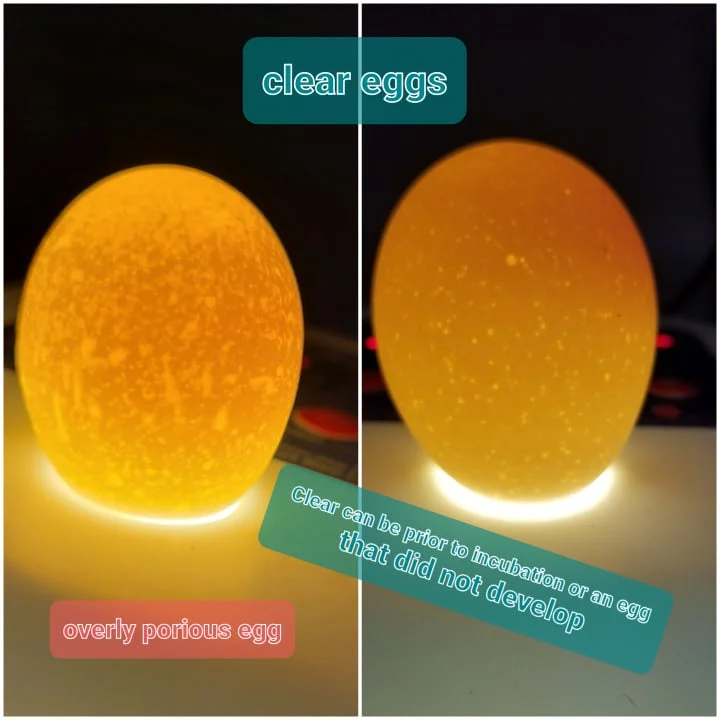
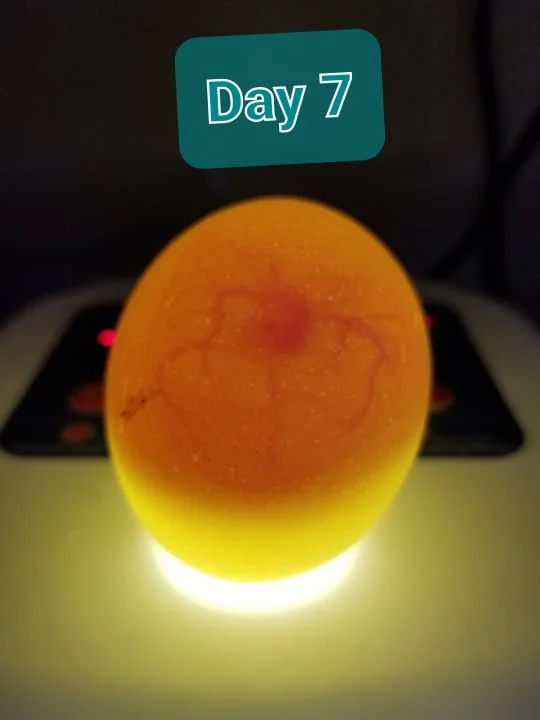
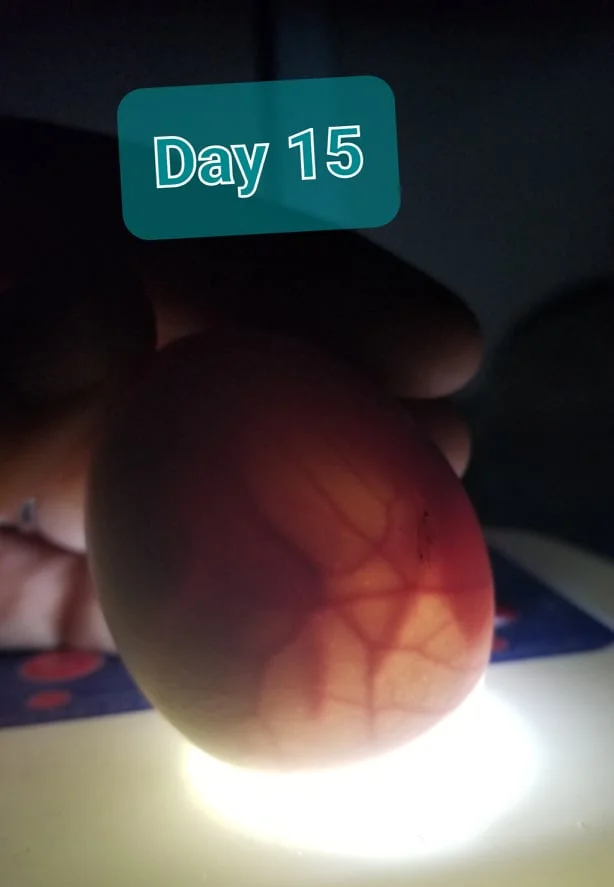
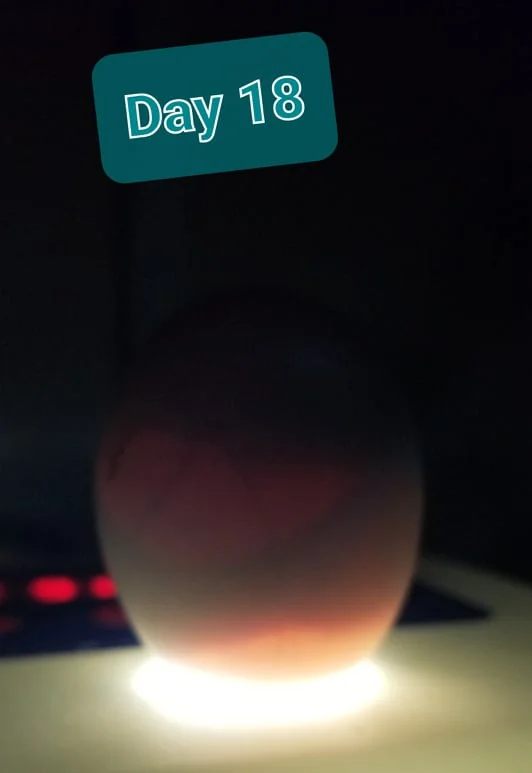
You should candle eggs prior to setting them to check for cracks, damaged air cells, overly porous shells or other abnormalities. Now that you have set your eggs, the typical candling schedule for chicken eggs is days 7, 15 and 18 to check development and assure viability. Day 7 will show a spider web of veins on the yolk (in a large white egg, you may even see the beating heart!), day 15 should show thick veins, lots of shadowing and movement within the egg, and then day 18 should be an almost blacked out egg with a large visible aircell.
Something not right when candling
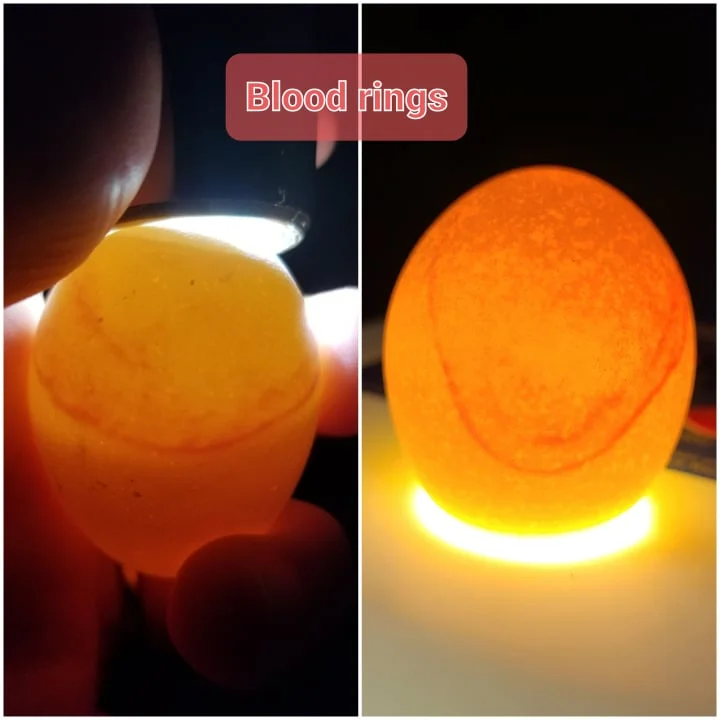
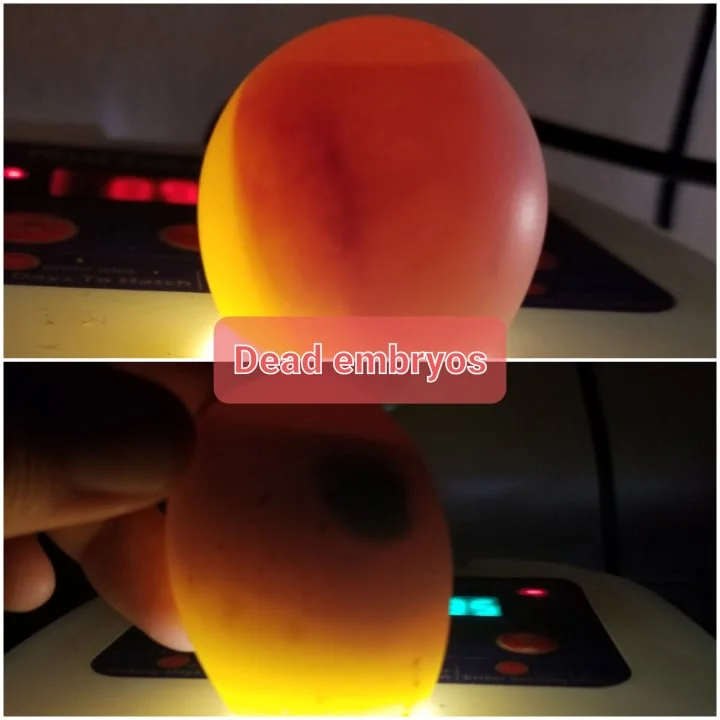
One thing that can be noticed when you candle is what is called a blood ring, that is when the egg is fertile, begins to develop and quickly fails. A blood ring looks like it sounds, it’s a visible “ring” or line of blood in the egg around day 7 candling; when an embryo dies later in incubation, it can appear as a black shadow or blob with little to no visible veins. You can also encounter some that don’t develop at all, if it’s been 7 days and the egg is clear, toss it.
Lock down
In hatching chickens, day 18 is the start of what is called lock down, this is when final candling is done and the humidity is raised to 60 to 70%, once this is done, do not open the incubator again until everyone is done hatching and are all fluffy. Now start listening for peeps and watching for pips!
Let the hatching begin!
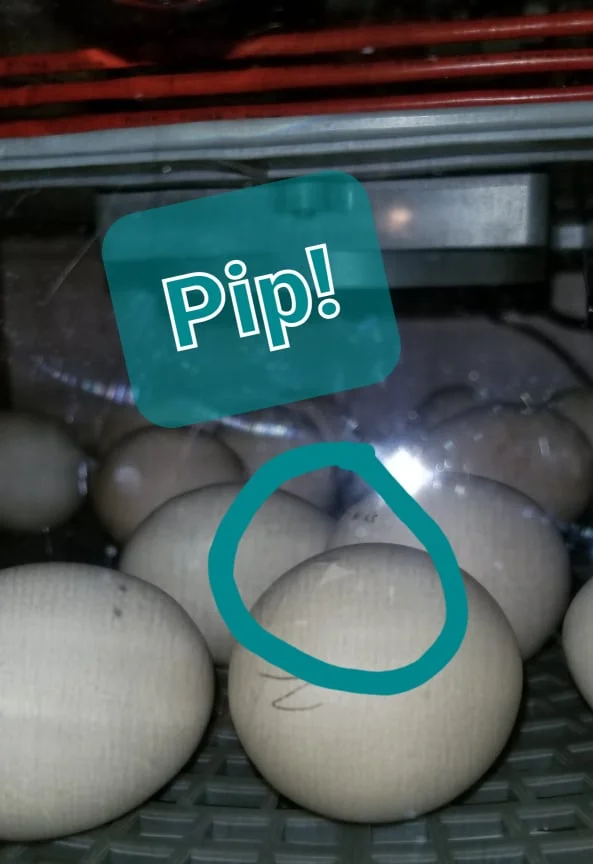
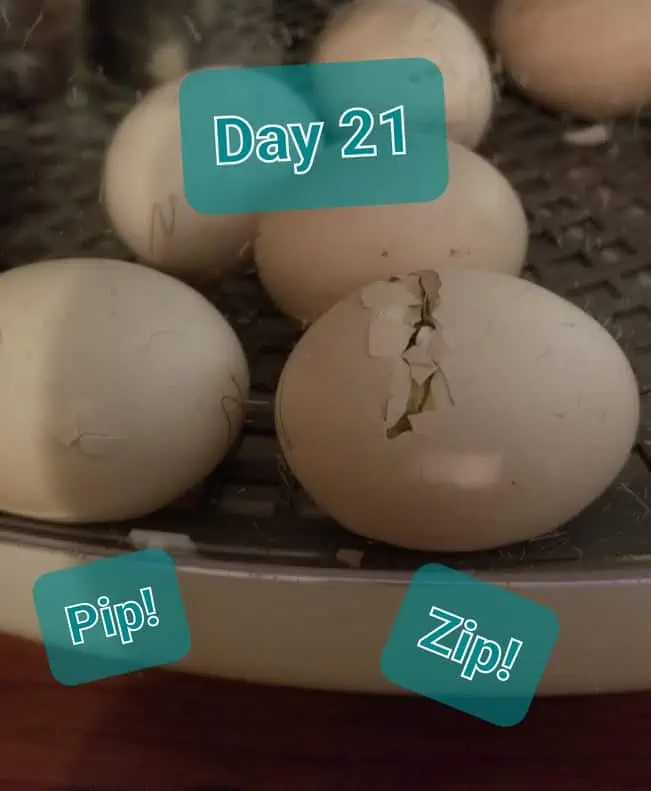
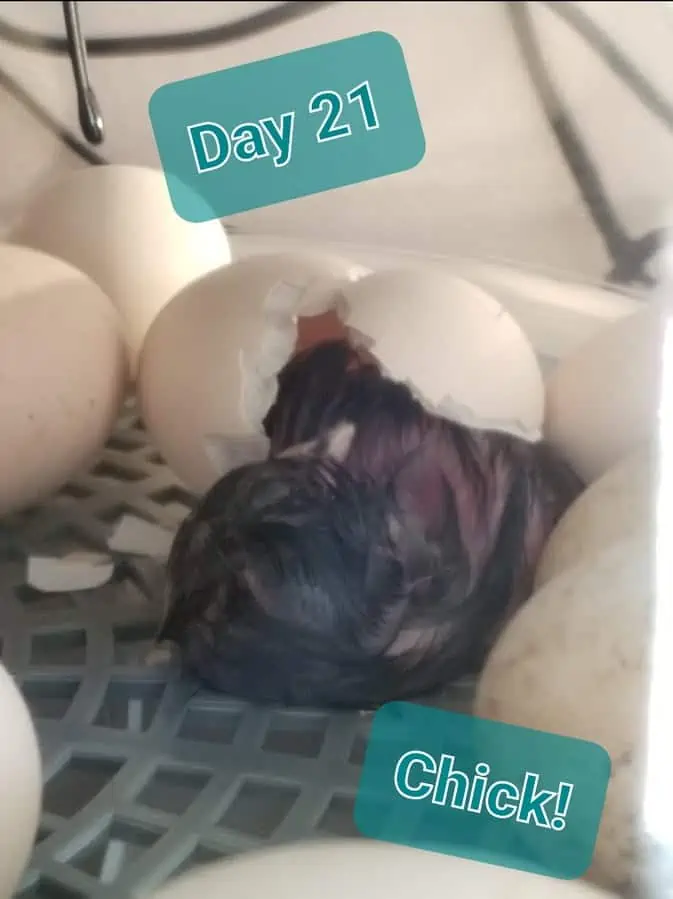
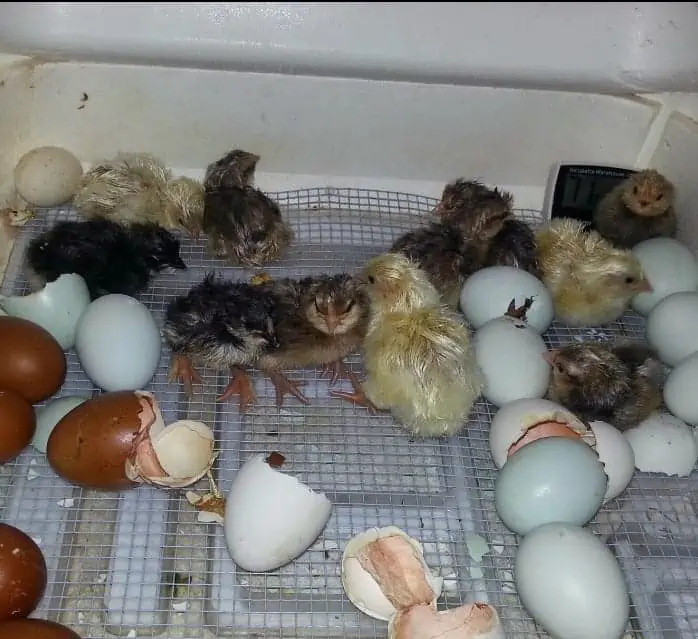
Chicken eggs can pip (first initial crack at air cell) as early as day 19 in some cases, but the real action is day 21; you will hear peeps and see pips or zipping as the hatch action commences. Once the first peep can be heard or the first pip can be seen, it will take anywhere from 2 to 24 hours for the chick to emerge from their shell. Now that the first chick has hatched, the remaining bunch should not be far behind. On hatch day, depending on your number of eggs, it goes from silence to chaos very quickly inside of that incubator!
Just wait
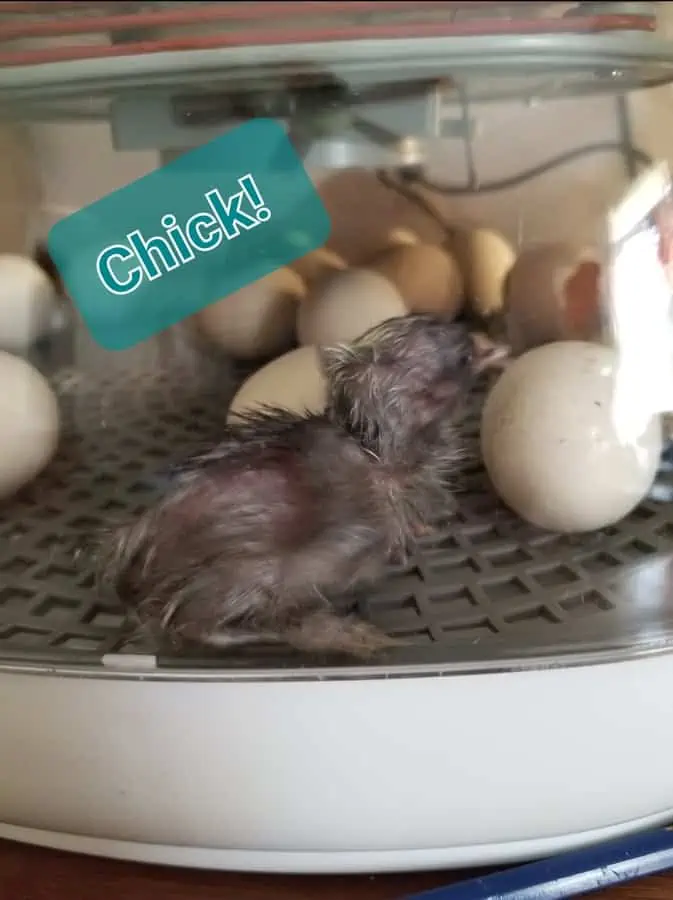
As tempting as it would be to take out that freshly hatched cuteness, it is safest for all involved if all the chicks are finished hatching and dried off before you open up the incubator and transition everyone to the brooder. Also be aware, chicks absorb the remaining yolk into their abdomen and have full nutrition and hydration from the yolk for 72 hours after hatching, so the chicks are perfectly fine to wait in the incubator for their hatch mates to emerge.
Trouble hatching
What if a chick hasn’t made its way out but all others are finished? Should I help? If a chick has pipped but has not progressed in over 24hrs, I would still give it time, some are just slower than average, I do not shut off my incubators until day 23. If a chick is actively zipping and then progress halts for several hours, one cause could be a sudden drop in humidity, in this case you can place the egg on a lightly dampened paper towel and wait longer to see if the chick is successful. I personally do not recommend assisting a chick from the egg! I have done so and more often than not, the chick failed to thrive and passed hours or days after hatch… I now firmly believe it is nature’s way of culling babies that would not thrive anyway. If my statement is upsetting, trust me it is far worse to watch them fail to thrive after an attempted assist.
Basic chick care
Now that your little peeps are fluffy and moving about, it is time to transfer them into your brooder! Hopefully you already have your brooder set and ready. A brooder can be any number of things depending on how many chicks you have and where the brooder is located. They can be made from a plastic storage bin, a water trough, a kiddie pool, a custom built brooder or a brooder kit you can buy at a feed store or online; whatever you use, be sure it is draft free and out of any weather or direct sunlight. Chicks need 20% protein or higher chick crumbles or mash, fresh clean shallow water and heat. My favorite way to raise my chicks is with a chick brooder heater plate instead of a heat lamp. Adjust the brooder plates height to where it almost touches the chicks backs, they will warm up underneath it then they will come out to eat, drink and stretch their legs and wings.
Why I personally prefer brooder plates
I highly recommend and personally use brooder plates because 1, they are less of a fire hazard and 2, the use closely simulates the nature of being raised with a hen, which builds more resilient chicks that feather out faster and are better acclimated to the climate. Why I don’t recommend heat lamps is because I myself have had a fire start from a “safely secured” heat lamp, thankfully I was nearby and stopped it before there was loss of life. I know people who were not so lucky, one lost her entire barn full of all her animals overnight and the other lost their home! If you decide to use a heat lamp, research and be very cautious, but I do not recommend them to anyone.
The most popular brooder plates are, in no particular order:
Brinsea Ecoglow
Premier Chick Brooder heating plate
RentACoop Chick Brooder heating plate
Rural 365
Producer’s Pride brooder and coop heater
Clean the incubator
Hatching is messy and smelly! Sanitizing the incubator after a hatch is very important for the health of your next hatch and to assure the proper functionality of your incubator. The best way to do this is to clean out the loose, dry shell fragments, dust and downy material with a brush or little hand broom. Mix some bleach and warm water, 1 part bleach to 3 parts water, to wipe out the hatch tray, it may even be a good idea to soak it for a time. You can wipe down the clear plastic portions with a mild glass cleaner. Gently wipe off the fan, wires and other electronic components with a dampened cloth or small brush. After every part has been cleaned, lay all the pieces out separately to air dry, once dried, reassemble and store the incubator (or plug it in for round 2)
In Summary
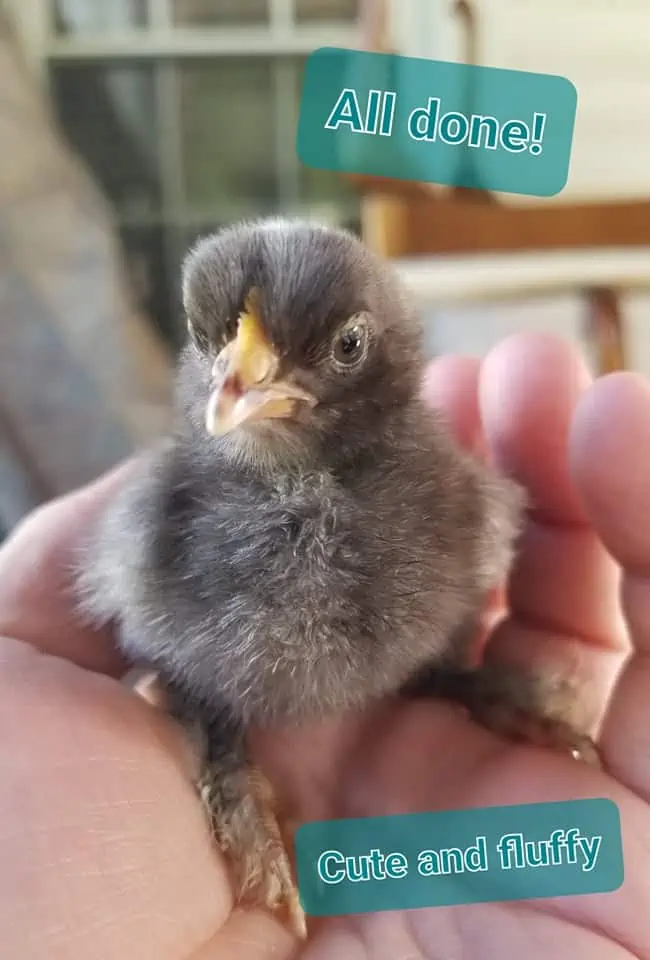
Hatching eggs is fun and addictive, but also requires work, patience and attention to details. From your first egg laid in your coop to your first pip, every detail in between sets the stage for a great hatch. From picking incubators to selecting your eggs, to set up, to candling and hatch day! Hatching your own chicks is an adventure that should be enjoyed and it is a wonderful learning experience for both young and old! Until next time, happy hatching!
OhCluck.com is a participant in the Amazon Services LLC Associates Program, an affiliate advertising program designed to provide a means for sites to earn advertising fees by advertising and linking to Amazon.com
Comments
0 comments

